
 Printer Board
Sign in
Welcome back. Sign in to your account.
Check your inbox. Code expires in 15 minutes.
Printer Board
Sign in
Welcome back. Sign in to your account.


Use "New booking" to reserve a machine.
Your reservations will appear here once you add them.
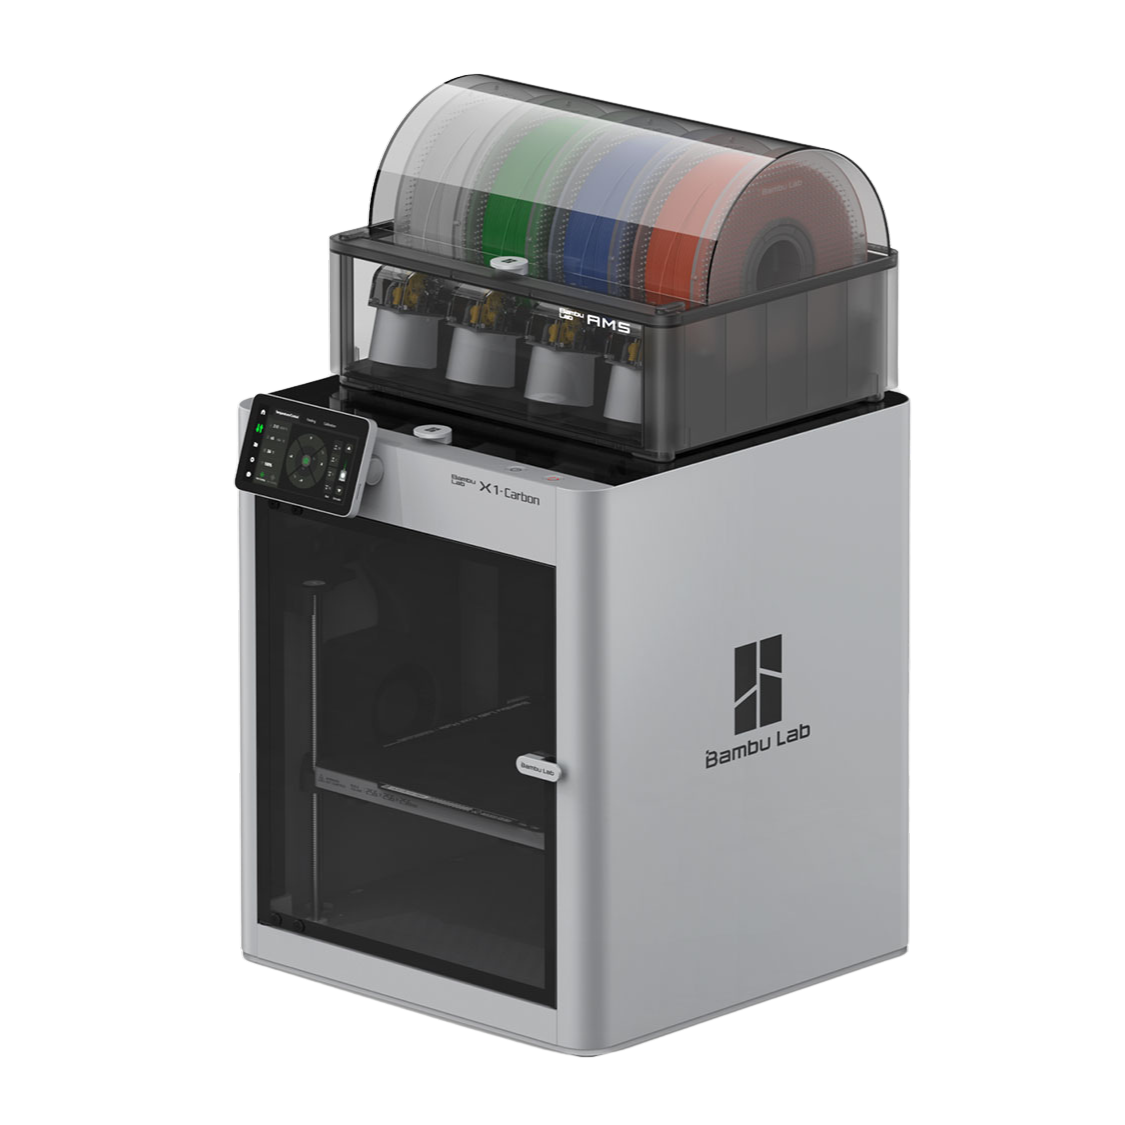
Bambu X1 Carbon
Everything you need to set up, run, and maintain the lab's three Bambu X1 Carbon printers safely and effectively.
01
Read before every print session.
The X1 Carbon's enclosure traps heat and fumes. Keep the top lid cracked open during PLA prints and ensure the room is ventilated.
Support structures and raft edges are sharp. Always use nitrile or leather gloves when breaking off supports and post-processing prints. Flush cutters should be used, not fingers.
The PEI build plate reaches 100 °C during printing. Wait until the bed temperature drops below 40 °C before attempting to remove a print The plate will also flex more easily when cool.
Schedule bookings so prints finish before you leave. Bambu's built-in monitoring can pause on spaghetti detection, but a human check is always safer for long prints.
02
Powering on and preparing for your first print.
Press and hold the power button on the right side of the printer for 2 seconds. The touchscreen will illuminate and the system will boot, taking about 30 seconds.
Open the AMS unit on top and verify filament is correctly fed. The touchscreen shows which slots are loaded. If a slot is empty, load filament using Settings → Filament → Load.
Remove any leftover debris from the previous print. The textured PEI plate should be cleaned with isopropyl alcohol (IPA) before each print session for best adhesion.
Slice your model in Bambu Studio and export the .3mf print file to a microSD card. Insert the card into the printer's card slot, then navigate to Print from Card on the touchscreen to select and start your job.
03
Recommended settings for common materials.
| Material | Nozzle Temp | Bed Temp | Speed | Enclosure |
|---|---|---|---|---|
| PLA | 220 °C | 35 °C | 200 mm/s | Open |
04
Monitoring and mid-print adjustments.
Stay with the printer for the first 2-3 layers. Lines should be slightly squished together with no gaps. If adhesion looks poor, stop the print and adjust the live-Z offset by -0.05 mm increments from the touchscreen.
If something goes wrong, cancel the print fully from the touchscreen. Do not use the pause function. A forgotten paused print ties up the machine for other lab members and may cause nozzle issues.
Do not leave a running print unattended. Check in regularly. If you need to leave, cancel the print and log a note in your booking so the next user knows the machine is free.
The X1 Carbon is quiet during normal operation. Grinding, clicking, or repeated error beeps are warning signs. Stop the print, note the issue in your booking, and notify the lab admin.
05
Removing, cleaning, and finishing your print.
Patience here prevents warped prints and burns. The printer's screen shows current bed temperature. Wait for < 40 °C before touching the plate.
Remove the magnetic PEI plate from the bed. Flex it gently; most prints will pop off cleanly. Never use a metal scraper on the textured PEI surface.
Put on nitrile gloves before breaking off supports. Use flush cutters for stubborn sections. Work away from your body and keep fingers clear of cut lines.
Wipe the PEI plate with IPA and a lint-free cloth before returning the printer. Skin oils reduce adhesion for the next user. Replace the plate in the printer when done.
06
Common issues and how to fix them.
Clean the PEI plate with IPA. If adhesion is still poor, check that the bed temperature is set to 35 °C for PLA. You can also increase first-layer squish via live-Z offset (-0.02 to -0.05 mm) from the touchscreen.
Cancel the print. Go to Settings > Filament > Unload on the touchscreen and let the printer retract the filament at temperature. Do not pull filament out cold. Once cleared, reload via Settings > Filament > Load and test extrusion before starting a new print.
Cancel the print fully from the touchscreen. Remove all debris from the bed and nozzle area carefully. Check whether the model needs more supports or a brim. Re-slice and export a new file to the microSD card. Report the failure in the booking notes so the next user is aware.
Layer shifts usually mean the print speed is too high for the model geometry, or the carbon rods need cleaning. Cancel the print, wipe the linear rods with a dry cloth, and re-slice at a reduced speed (-20%). If it persists, notify the lab admin.
07
Keep the printers in top condition.
| Name | Role |
|---|
Toggle a printer offline for maintenance. Offline printers show as unavailable and cannot be booked.
Generate a link and share it. They sign up and get the role you choose.
Set new password
Choose a password at least 6 characters long.